Slack – perhaps the most useful application when you are a manager and you have more people under your control. It works extremely simply and brings together the whole team. You can send messages to everyone at the same time, just like a chat room, making work together much easier. The app is similar to the Yahoo Messenger, but with many additions and created specifically for the business side, and has variations for all types of devices, from phones, laptops to tablets.
Zabbix is a solution for monitoring applications, networks and servers. With Zabbix, you can monitor multiple servers at a time using a Zabbix server that comes with a web interface (which is used to configure Zabbix and has system graphics) and Zabbix agents that are installed on the systems that are going to be monitored. Zabbix agents deliver the desired data to the Zabbix server.
Zabbix Alerting Using Slack
The first step is to create an App and retrieve a Slack bot token. Slack’s API works really well but if your workplace has been in use for years it can be frustrating to find the correct page that has the information you need. They seem to have changed their API a few times and it’s not very clear which page you need to go to for which tokens, and what those tokens specifically do. I’ll try to make it clear in these instructions.
Start at https://api.slack.com/apps. You will need to login to your Workplace if you are not logged in already.
It should take you to the Basic Information for your new app.
Click on Create an App. Name the app Zabbix Alerts or something similar.
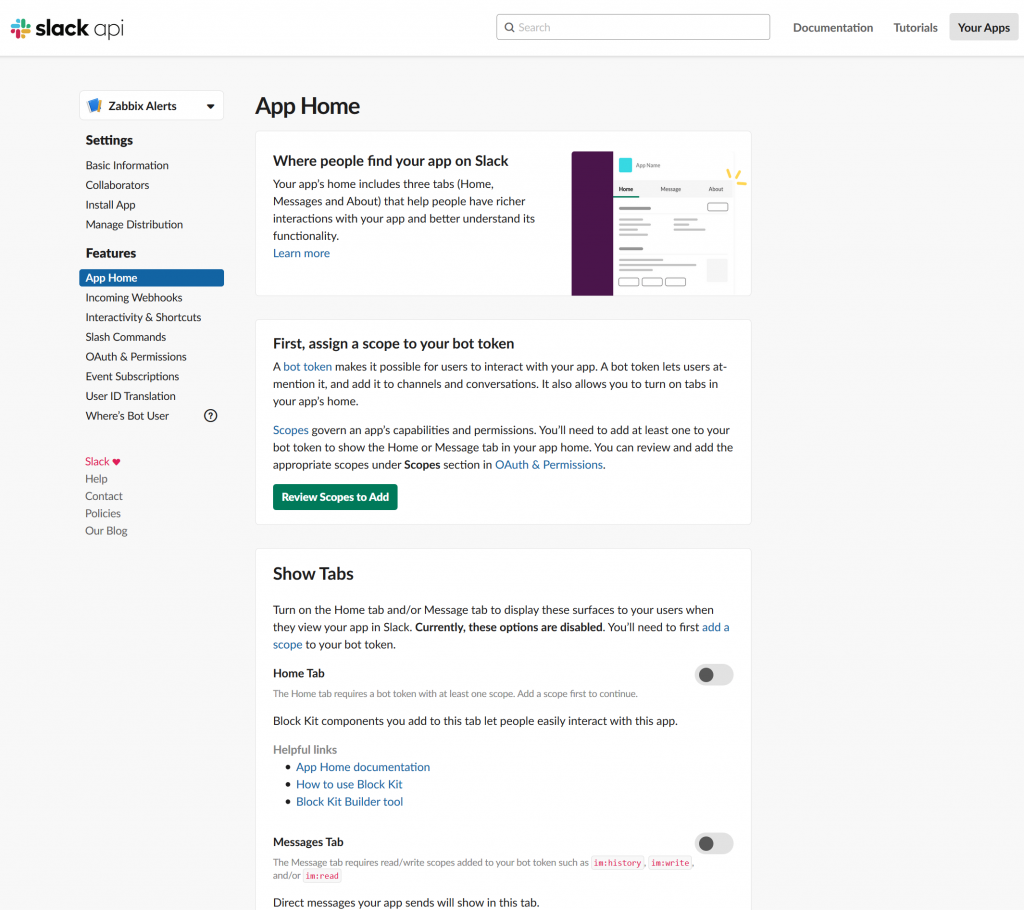
Click on “Bots” on the bottom left. Now you are directed to App Home (which is not the Bots page):

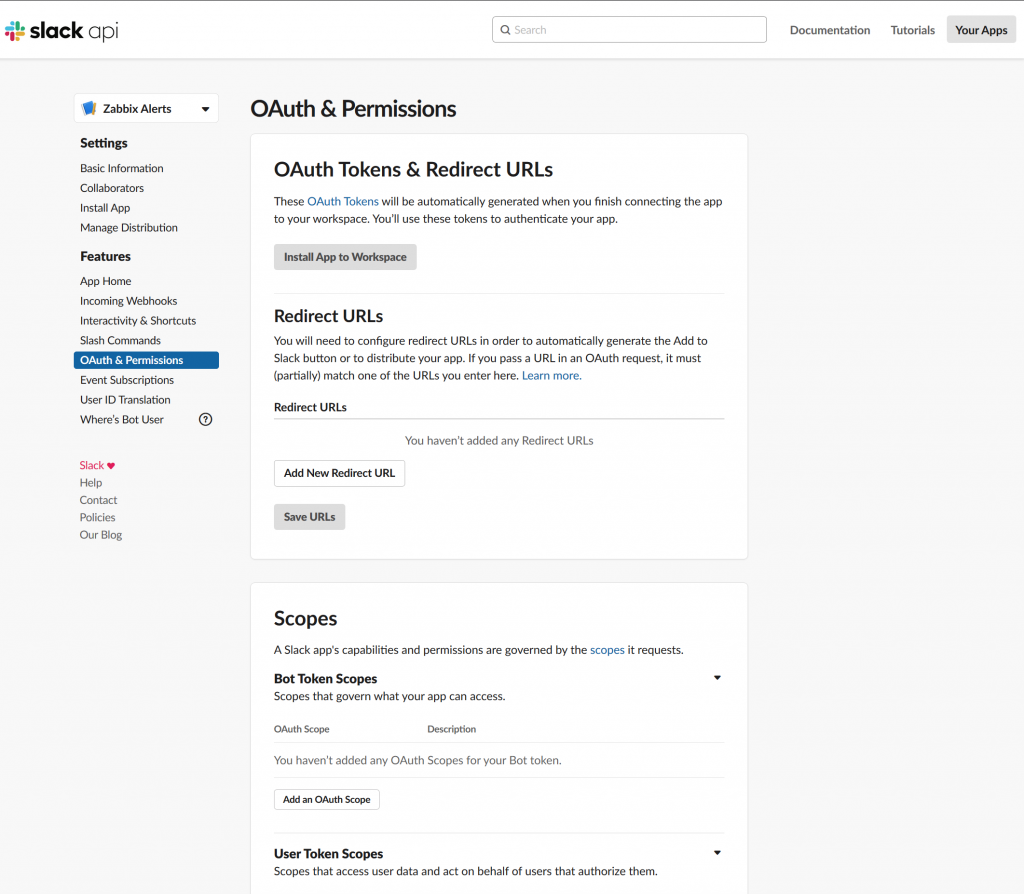
Make sure you are on the App Home page shown above, then click on the green box that says “Review Scopes to Add”. You should be directed to the OAuth & Permissions page:
Under Bot Token Scopes add an OAuth Scope of “chat:write”:
Now that the Bot Token has a scope, the “Install App in Workplace” button located on the same page (OAuth & Permissions) should be green. Click on it and it should redirect you to a page, then be redirected back to the OAuth & Permissions page, but now you have a Bot User OAuth Access Token.
The last step is to create a test Slack channel and add the app. Open Slack and create a channel named zabbix-test or your favorite name.
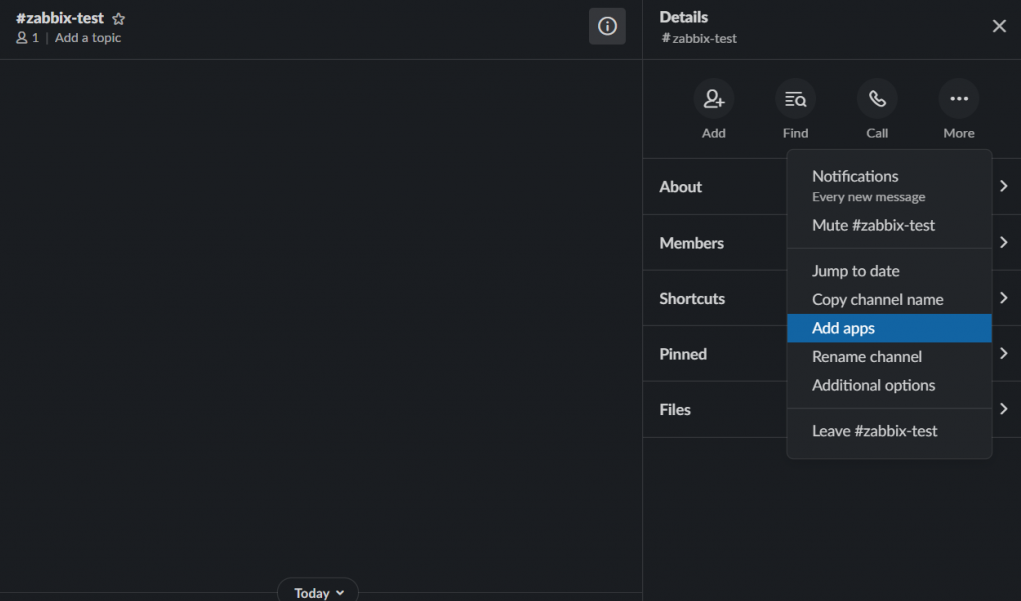
Click the (i) Details button in the top right corner of the channel box, then click More, then click Add apps. From there you can select your Zabbix Alerts app
That should be all that is required for Slack setup. Everything else is on Zabbix now.
Zabbix Setup
The first step is to navigate to Administration > Media Types and use the Import button in the top right corner to upload this media_slack.xml file:
Once you upload that, there should be a green bar at the top of the screen that says success, then navigate back to the Media types page and select Slack. You should be presented with many fields:
Set your values for {$ZABBIX.URL} and {$SLACKTOKEN} for {$SLACKTOKEN}
Now just navigate to Adminstration > Users. You will need to create a user for every channel or direct message that is used. For example, I want to send notifications to #zabbix-test channel, so I create a user specifically for that. If I wanted to send notifications to #zabbix-alerts also, I would have to create a second user. So to start I am creating Alias “Slack_zabbix-test” and it is added to the Group “No access to the frontend”:
Go to the Media tab for the user and add the Type “Slack” and Send to should be your channel name.
Click Add a new user account.
We just need to setup triggers to cause notifications. Navigate to Configuration > Actions and in the top right corner click Create action:
Set the Name. The easiest way to keep your Zabbix alerts under control is to use Tags or Hostgroup or Host. I’ll set mine to “Tag value” and have the name be “#slack_zabbix-test” “equals” “1”. This means any tag with the name of #slack_zabbix-test and the value of 1 will be sent to the Slack channel #zabbix-test.
You need to open Operations and on the Operations section click New. Next to Send to Users click Add and click the Slack_zabbix-test user that was created to communicate with the Slack channel.
Everything should be setup at this point. Just click Add and it should immediately become active. We still need to setup a trigger with the correct tag, so let’s do that and see if it works.


