XenServer has a tiny installation footprint 1.2 GB (roughly). That is the modern day equivalent of a 1.44″ disk, really. While the installation footprint is tiny, well, so is the “root/boot” partition that the XenServer installer creates 4GB in size. The point is that this amount of space does not facilitate much room for log retention, patch files, and other content. As such, it is highly important to tune, monitor, and perform clean-up operations on a periodic basis. Without attention over time all hotfix files, syslog files, temporary log files, and other forms of data can accumulate until the point with which the root disk will become full.
Refer for more information.
http://xenserver.org/discuss-virtualization/virtualization-blog/entry/xenserver-root-disk-maintenance.html
How to Increase root partition size xenserver
We can use MBR partition tables and get a larger root partition xenserver. Here is the steps to disable GPT support false and use MBR partition table.
- Boot the xenserver with installation DISK.
- while initially booting, press F2 to access the advanced installation.
- Type shell and press enter. This will booting in to a pre-installation shell.
- vi /opt/xensource/installer/constants.py
Change GPT_SUPPORT = True to GPT_SUPPORT = False to disable GPT and use MBR partition tables. You can specify the value of root_size from 4096 (the default) to a larger number which you want bigger root partition.
- save and exit from vi editor.
- Type exit and the installer should start.
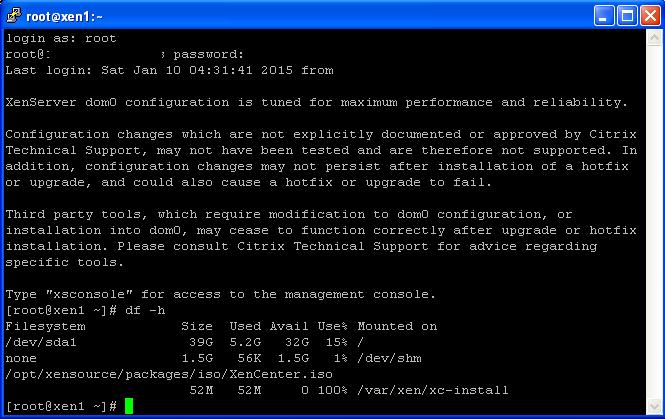
Once the installation is complete, check your increased xenserver root partition size.
Errors :
when you have normal xenserver installation will receive “new partition table could be written”
Solution:
Try to disable GPT as per our previous intruction. Otherwise you can use the below method.
1. Boot from the XenServers 6.0.0 install CDROM.
2. At the Xen 6.0.0 install prompt type menu.c32 and press enter.
3. When you get the new menu screen press TAB
4. add disable-gpt just before the last — then press enter.
The system will go through part of the pre-install boot process.
5. At the bash prompt type “exit”.
Installation will continue without any issue.


